Grow tents offer various advantages. They provide a controlled environment, are cheaper than building a grow room, and are simple to set up.
However, even though grow tents are relatively easy to set up, there are still some important things you need to know before you start. Otherwise, you might waste money and time and not get the results you want.
Improper setup can compromise your indoor gardening efforts and result in bud rot, pests, plant heat stroke, and more.
To avoid all this, keep reading to find out how to plan and construct a grow tent from start to finish.
Measure Your Space
The first step to creating an epic grow tent setup is to find a suitable space and measure it out.
Ideally, your grow tent should be situated in a clean, insulated, and temperature-stable environment. If possible, you should also have a source of ventilation at hand.
Once you've found an area in your home to situate your tent, measure out the available space. There's nothing worse than ordering a grow tent, only to find that it won't fit in the space you've designated for it.
Besides measuring the available space, you should also consider how many plants you want to grow. Squashing too many plants into a small tent can result in stunting, growth issues, pests, and reduced yields.
On the other hand, running an oversized tent for only a couple of plants will waste electricity.
Along with the number of plants, also give some thought to the strains you want to grow. Strains with a lot of stretch will require more space, while a compact strain like Northern Lights will need less space. Its soothing effects are great for beginner smokers.
For more seed options, explore ILGM's full seed vault*.
Find the Right Grow Tent
Once you know what size grow tent you need, you can start shopping around. In general, it's best to invest in a new tent, as second-hand tents can sometimes be contaminated with things like powdery mildew or spider mites.
It is possible to sterilize a grow tent with bleach or hydrogen peroxide. However, it's often a lot easier to buy a new tent that you know will also come with all of its parts and will not have any holes or damaged areas.
To start looking at models and sizes, you can check out our selection of grow tents for indoor gardening. We stock both premium, top-shelf options and more budget-friendly tents. For a hassle-free setup, consider a complete Grow Tent Kit with everything you could possibly need (once you have measured your space, of course).
Need a small tent but aren't sure which brand to go for? We go in-depth on closet-sized tents in this grow tent guide
Invest in a Good Lighting Setup
Besides a grow tent, you'll also need to source lighting components.
There are two main types of grow lights: HPS and HID lights, and LED lights. LED lights run cooler and are typically better for smaller tents.
However, you might need to adjust the height of the lights at intervals to ensure your plants receive constant amounts of light intensity as they grow in height.
In the short run, HID and HPS lights are usually a bit cheaper than LED grow lights. In the long run, however will cost you more as they operate hotter, which can increase cooling costs, draw more electricity, and require more regular bulb replacements.
That said, however, one of the big advantages of these lights is their stronger light intensity, which means you can suspend them higher and not have to move them up and down.
As far as size goes, the general rule of thumb is approximately 40 watts per square foot of tent space. See this article for more on this. This applies to both HID, HPS, and low-intensity LEDs.
Besides grow lights, you might also need to pick up:
- A hood or reflector (for non-LEDs)
- A Ballast (for non-LEDs)
- Hanging components (hooks, clips, and rope)
- A timer
- Power strips
Some grow light kits contain all of these components, which means you won't have to buy them individually.
Don’t Forget About Climate Control
Last but not least, you'll also need to get your climate control components together.
Here's what you need:
- Ducting
- Duct clips
- An in-line duct fan
- A filter
In addition to these components, you'll also want to pick up a temperature and humidity meter. To get started, you can browse our climate control section for indoor gardens.
Depending on the humidity in your area, you may also need to invest in a dehumidifier for the grow room where your tent is situated.
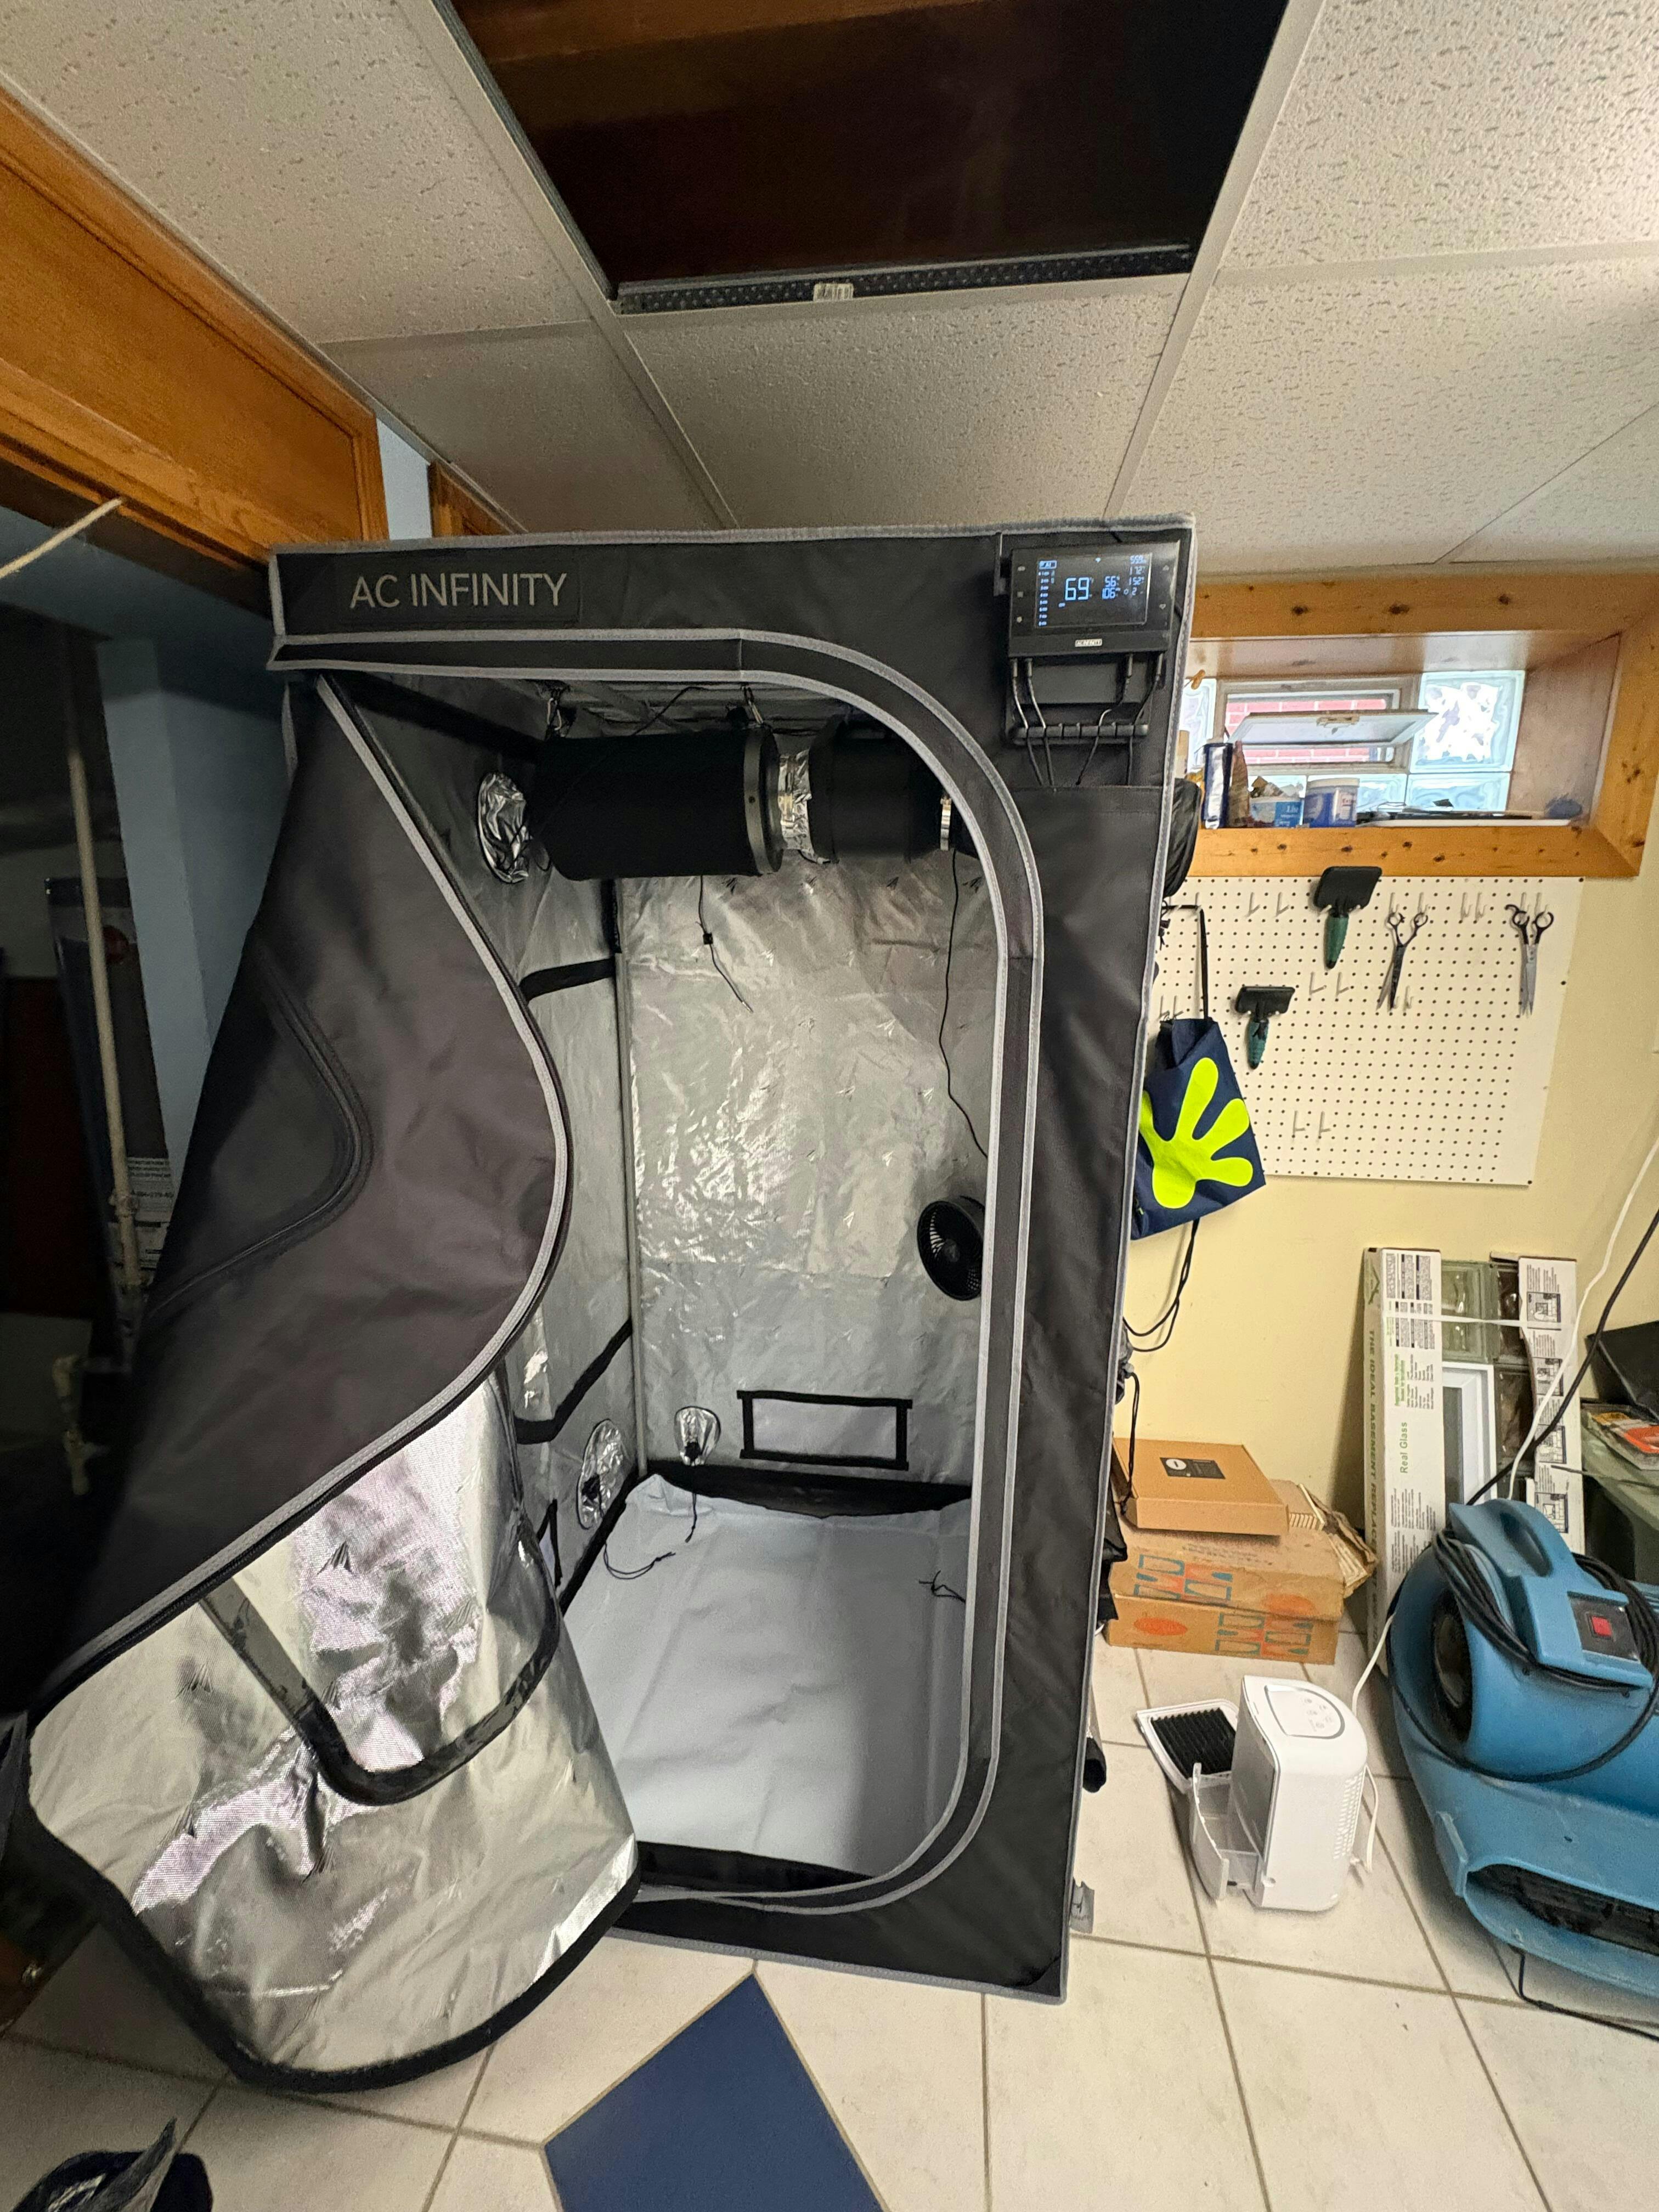
Putting Your Grow Tent Together
Once you have all of your components, it's time to start putting your grow tent together.
If your tent has been used before, thoroughly sterilize it with bleach and hydrogen peroxide. If it's new, skip this.
Get Your Tools Together
To put a grow tent together, you will need a tape measure to set up your ducting. You will also need wire cutters, pliers, or strong scissors to cut through the ducting.
Lastly, you'll probably need a flathead screwdriver for working with the ducting clamps.
Clean the Area
Before assembling a grow tent, it's always a good idea to clean the area it's going to be in. Dust down the ceiling, wipe down the walls, and vacuum away any dust and debris from the floor. This is especially important if your grow is going in a dusty spot like a garage, basement, or attic.
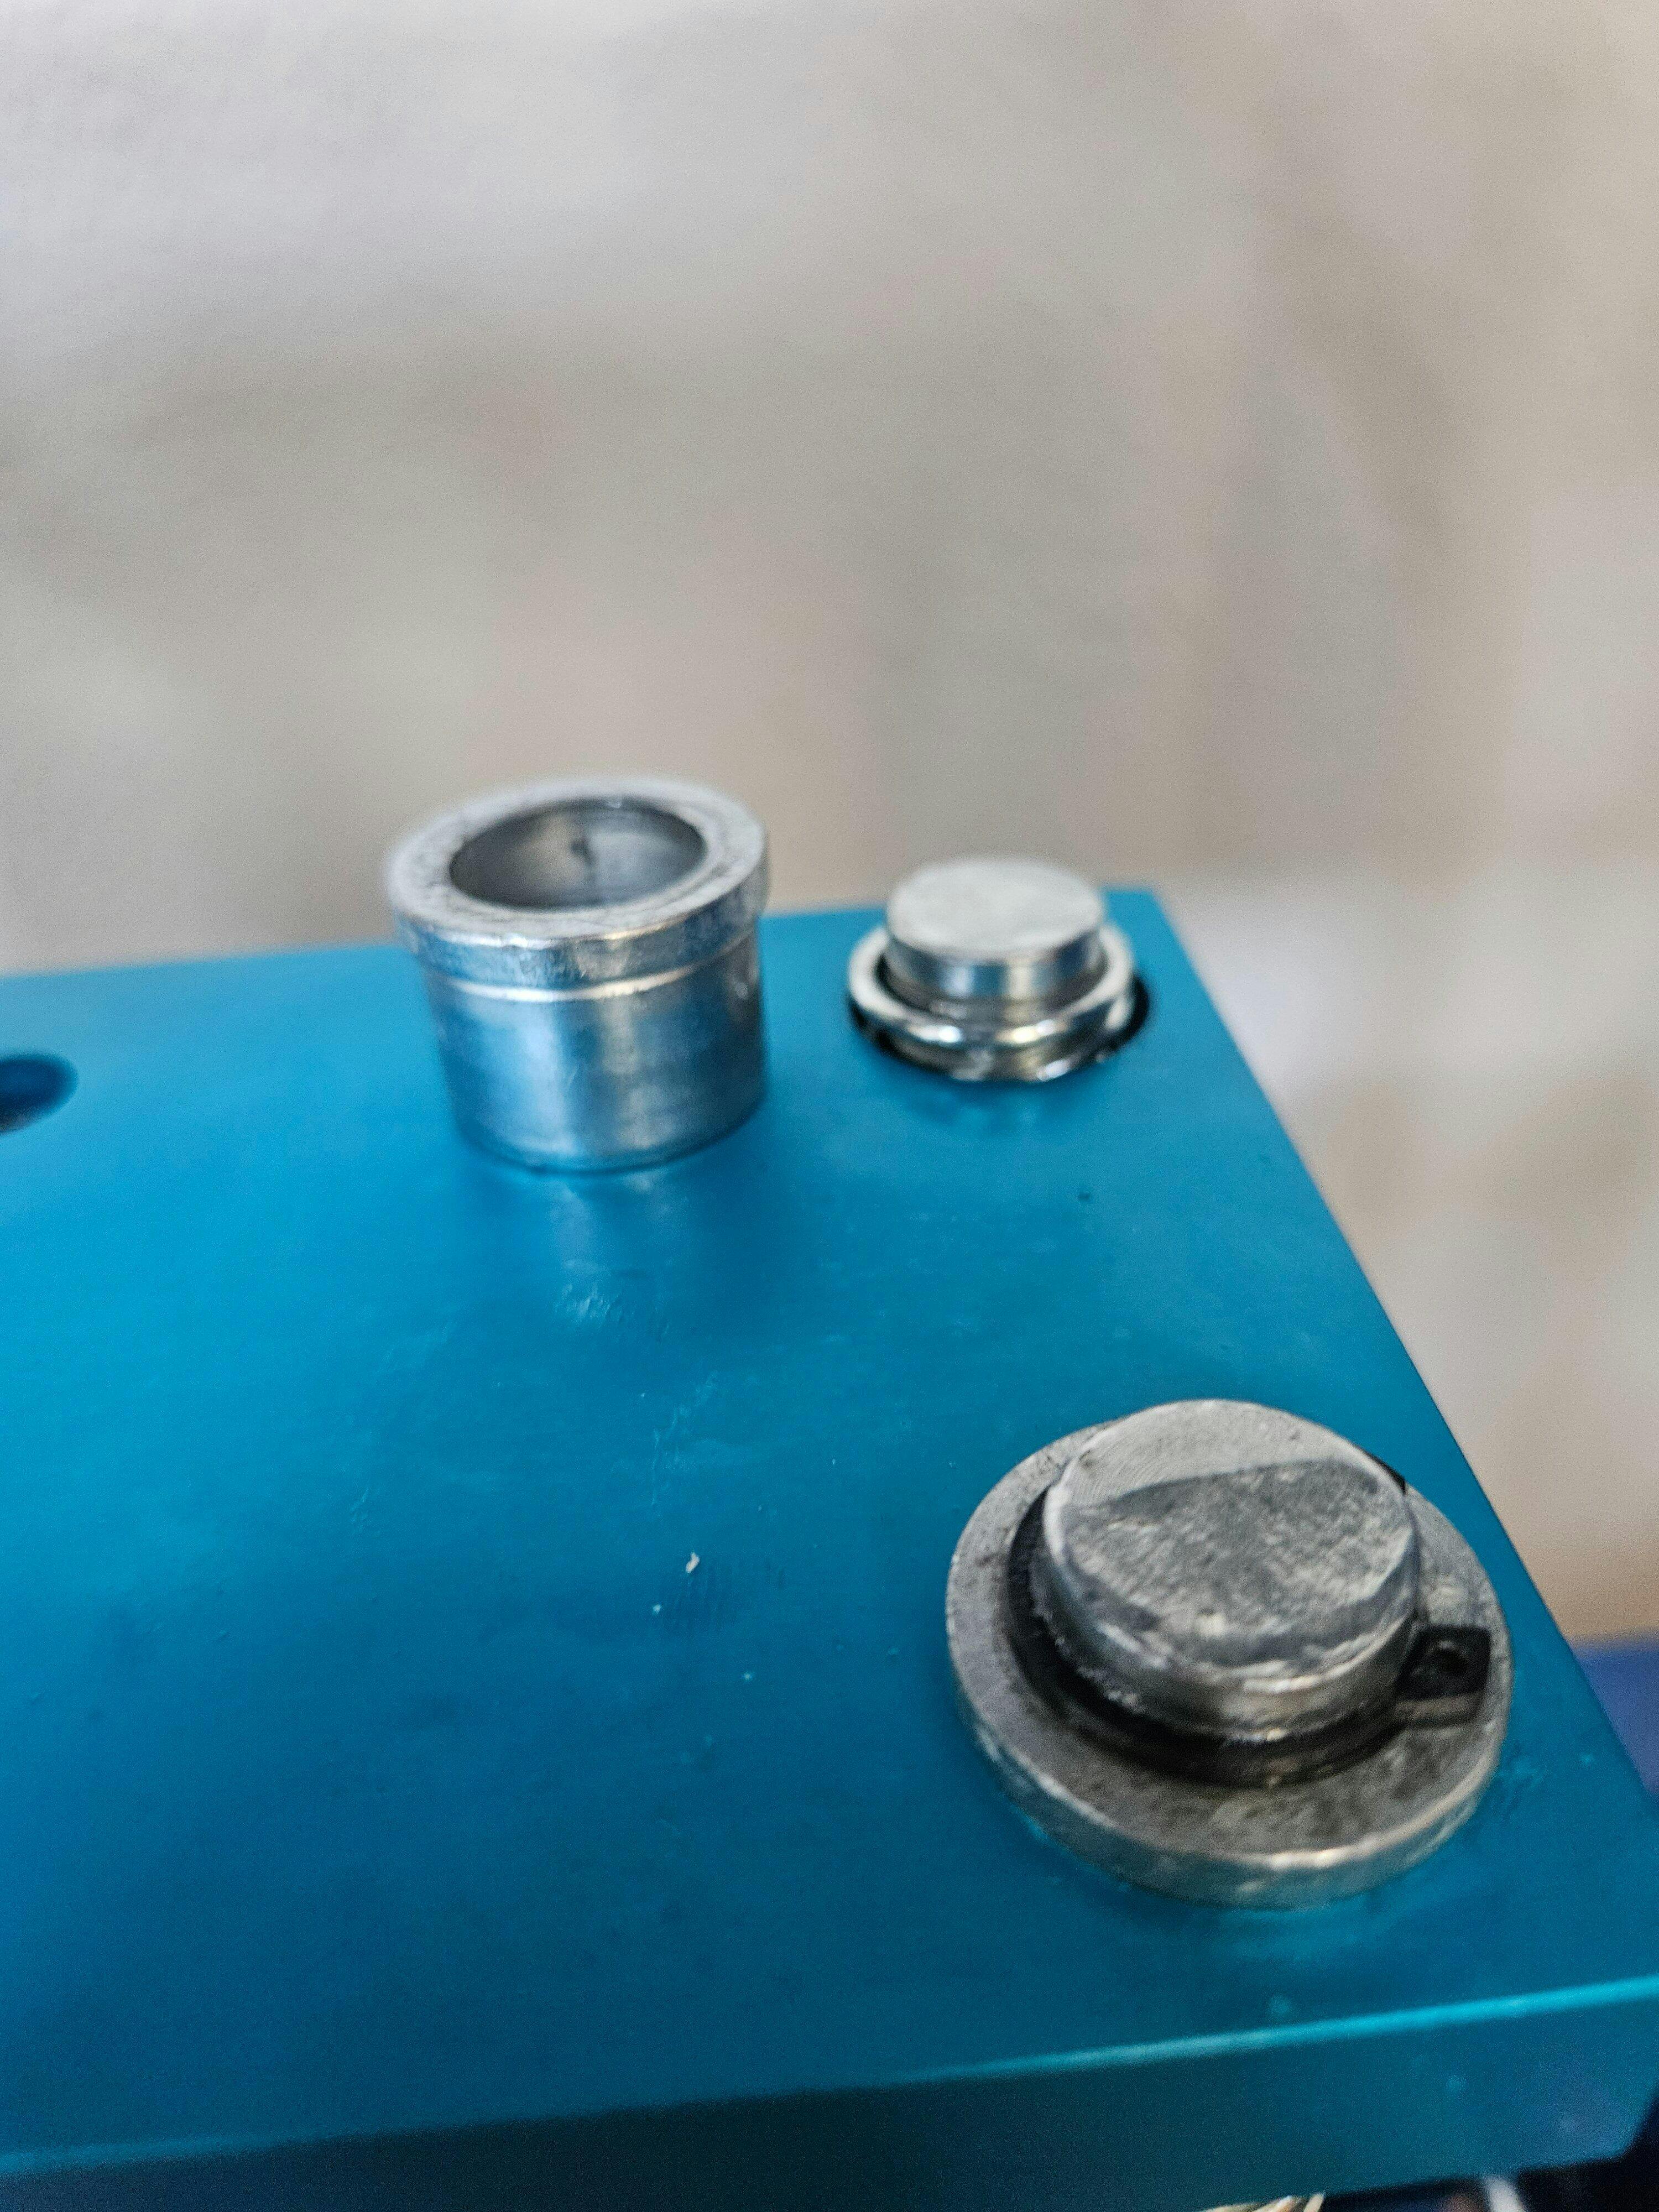
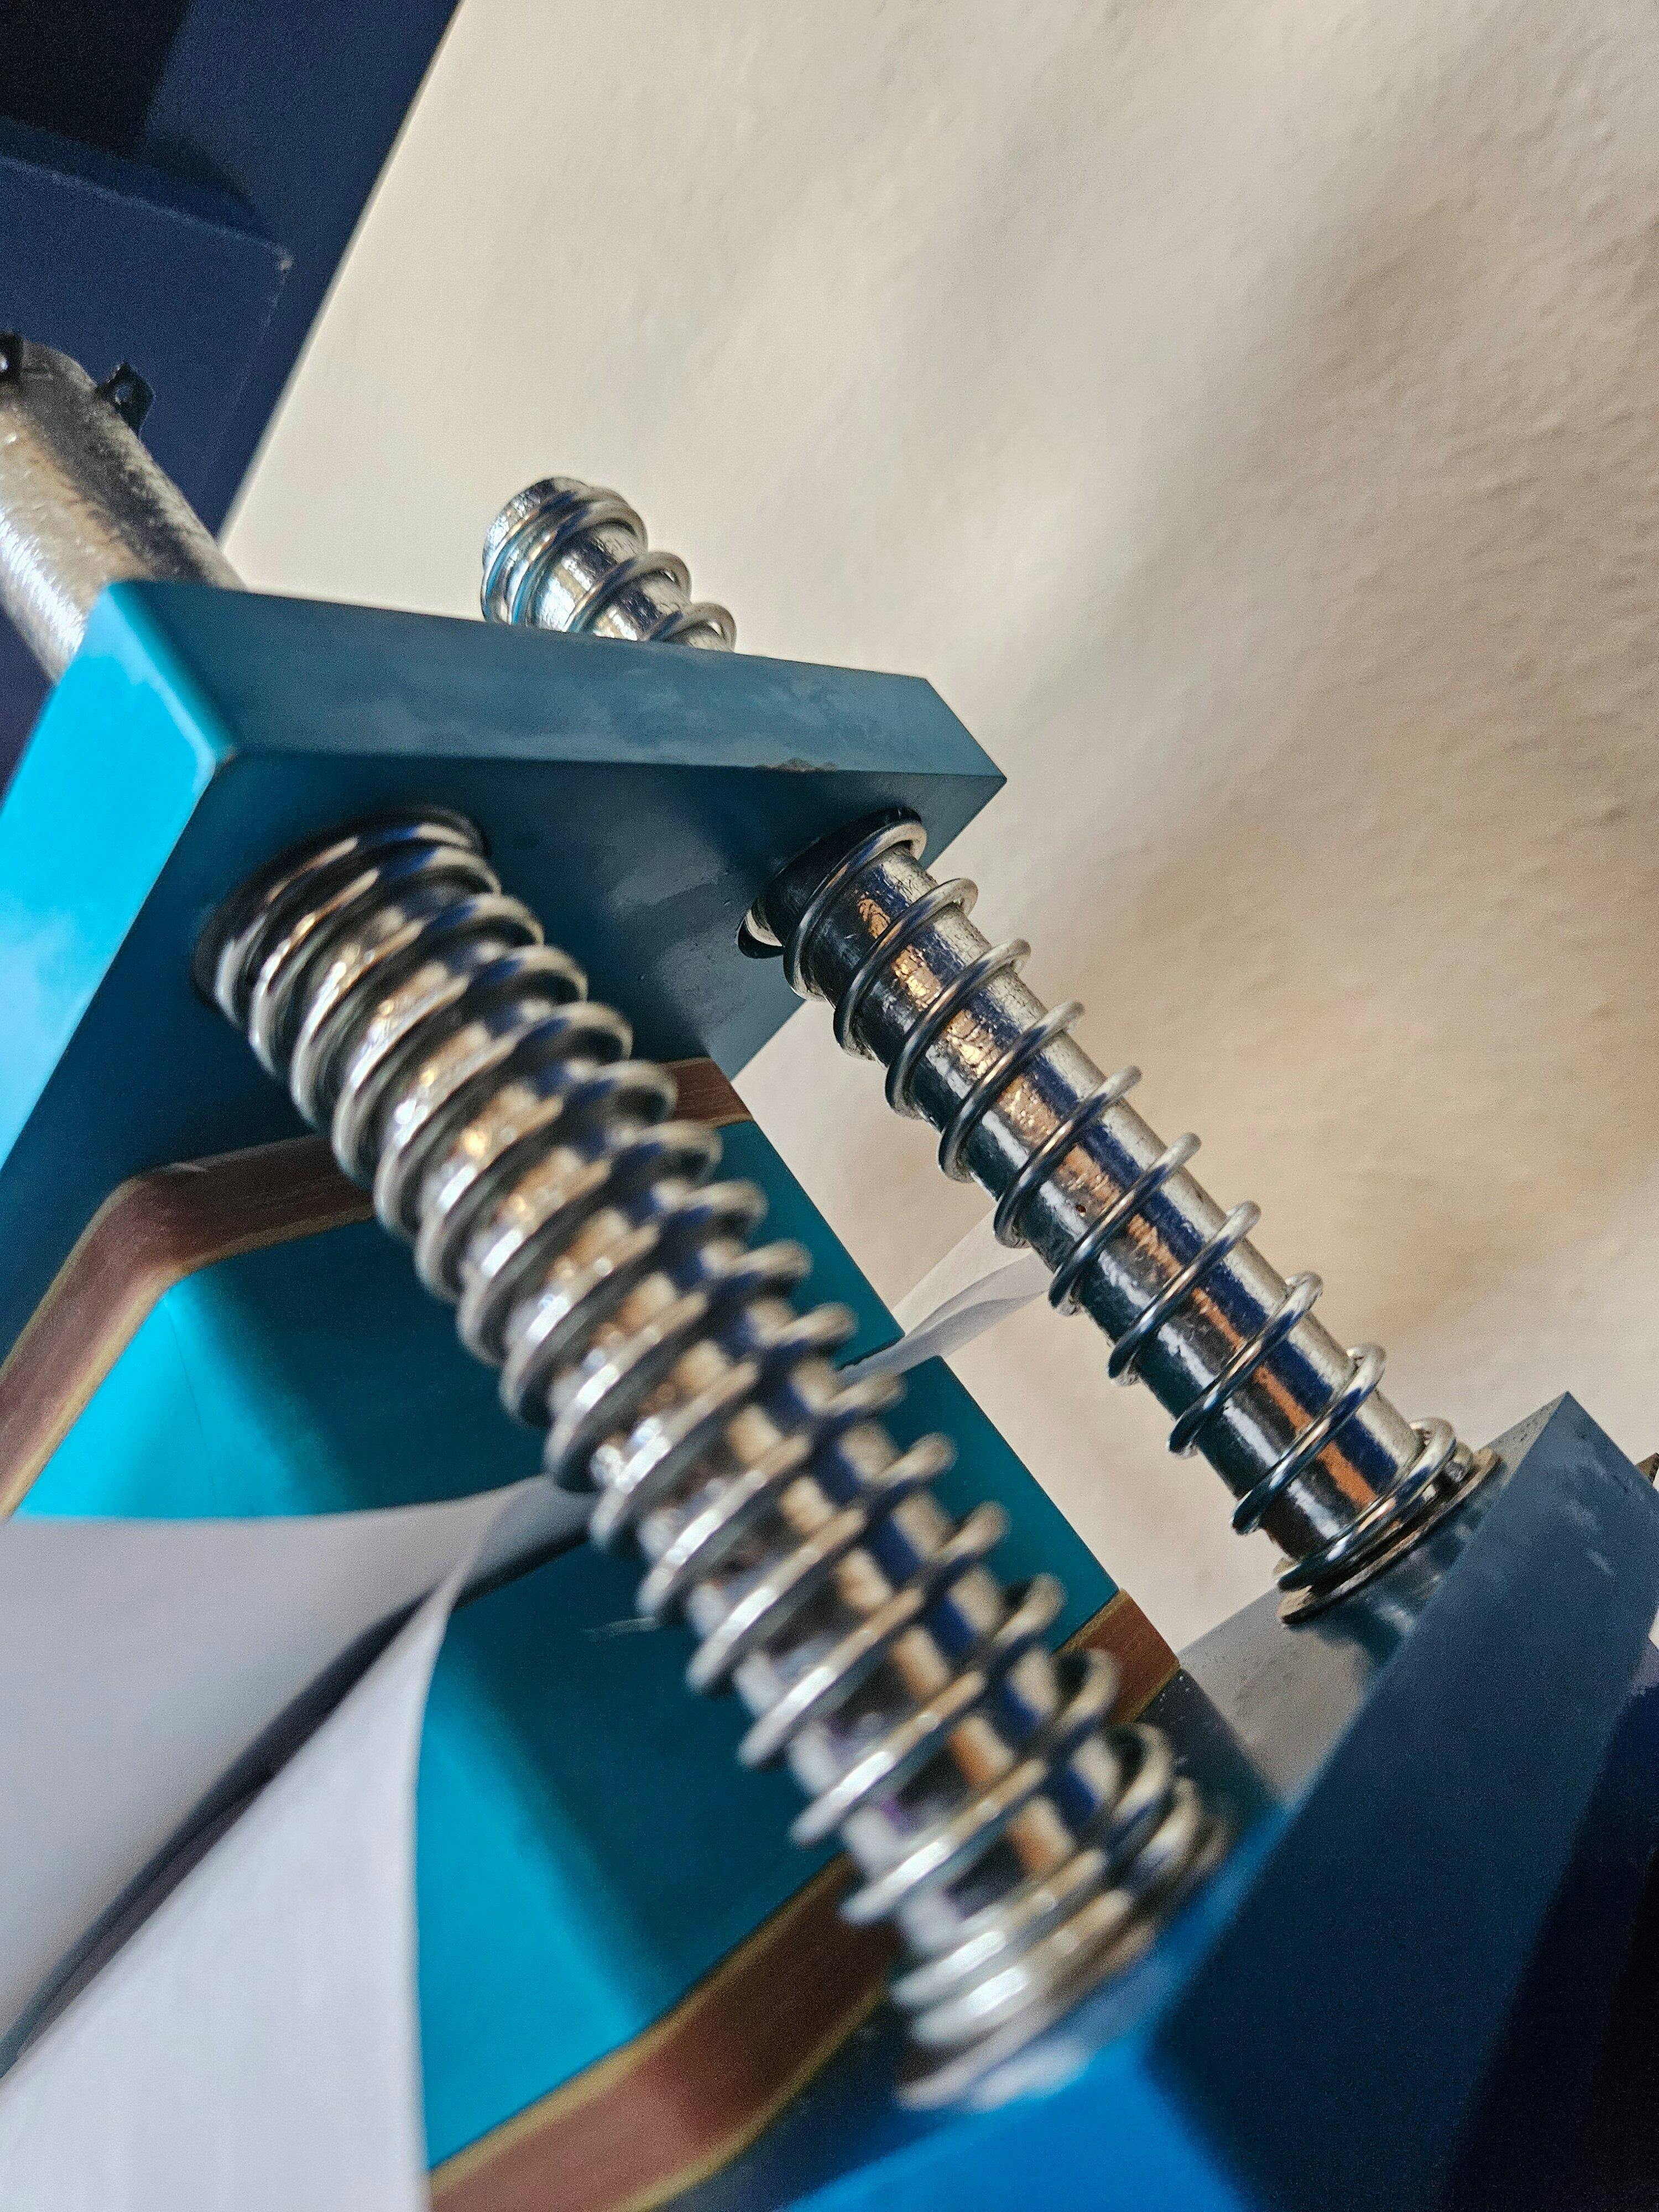
Assemble the Frame
Once your area is clean and ready to go, you can start assembling the frame. This is usually pretty intuitive, but if you're struggling, you can always refer to your tent's instruction manual for proper pipe placement.
Attach the Cover
When the frame is up, it's time to slip the cover over. Sometimes that can be a bit of a squeeze. Take your time, ease the canvas along, and pretty soon it should pop over the frame.
If you're working with a large tent, you might need to enlist the help of a second person, especially if your canvas is tight-fitting.
Smaller tents, on the other hand, are usually pretty easy to assemble on one's own.
Hang Your Lights
After you've constructed the tent, you can install your lights. Although this might sound daunting to new growers, it's actually a very simple process.
If you've purchased a nice set of lights, you should be able to easily hang them on your grow tent's frame. Most lights come with strings and clip or hook attachments. If you are using HID or HPS lights, don't forget to attach the hoods first.
Once the lights are hanging, you can route the cables down the side of your tent and out the designated hole. When doing this, try to make sure that the cables aren't hanging in the way or snaking around on the floor of the grow tent. You also want to make sure that your cabling doesn't lie on the ground and get wet during watering.
Once your cables are "laid," all that's left for your lights is to plug them in.
Get the Ventilation Going
Before you start installing your ventilation, you'll need to decide on the type of configuration you want. In other words, where do you want to place your ducting, fan, and filter?
The best is usually to house your ventilation system in your grow tent, hanging under the "ceiling" from the frame. This keeps it out of harm's way and should give you ample space for your plants.
It also reduces the fan noise, sucks out the warmest air first, filters more odors, and optimizes air circulation.
However, depending on your situation, you can choose other configurations, such as:
- Filter inside and fan outside
- Fan inside and filter outside
- Both the fan and the filter are outside
As you can see, it is possible to swap around the order of your fan and filter. However, the optimum order is for the filter to lead to the fan. This way, the fan sucks the air through the filter rather than blowing into it.
To install your ventilation, start by measuring and cutting your ducting to size. Then, you can start assembling the ducting, fan, and filter, attaching them to your tent frame, and leading the ducting out of your tent's duct holes.
Give Your Tent a Test Drive
Once everything is up and running, it's time to test drive your grow tent. Place your environmental meters inside and run your tent for a few hours.
If the parameters are where you want them (between 75°-85° F and 70% relative humidity), you can start placing your plants inside your grow tent.
Are You Looking for the Best Grow Tent Supplies?
As you can see, setting up a grow tent isn't all that hard or complicated. If you approach it step-by-step, you can do it in no time at all.
Are you new to indoor growing? Do you need a good tent or any other grow room supplies?
If yes, you've come to the right spot. We stock what you need to grow and process killer bud successfully.
Check out our latest deals now, and our Grow Tent Comparison Table to quickly compare sizes, features, and pricing across top brands!


Leave a comment